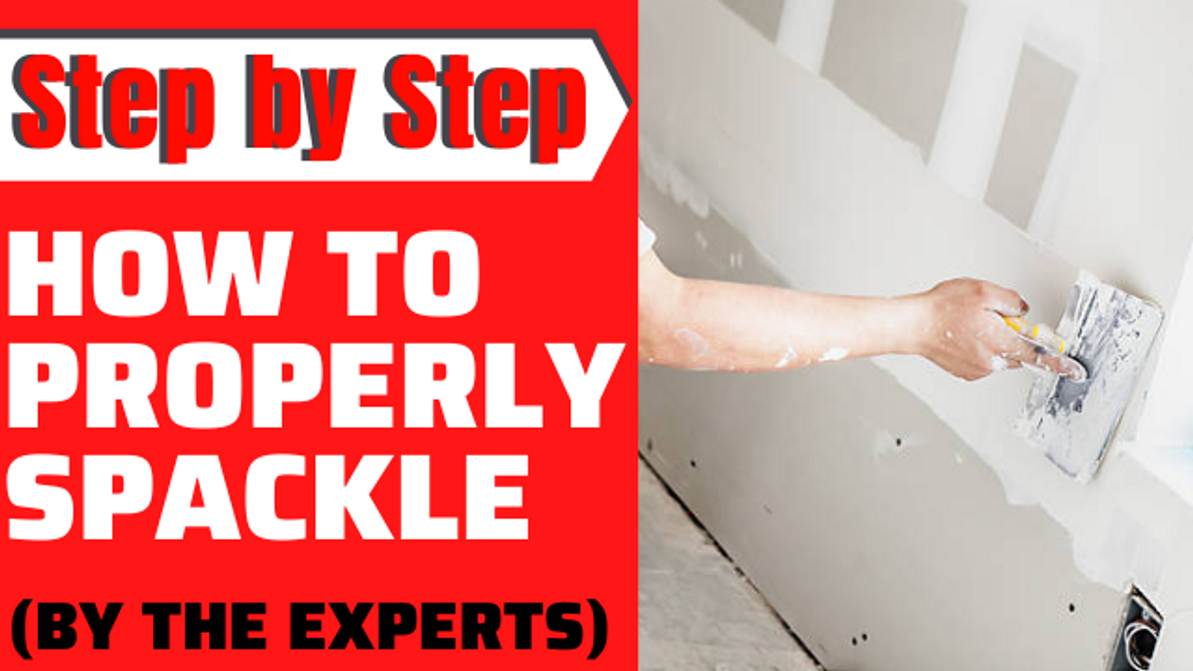
Step-by-Step Guide to Properly Spackling
If you're planning to fix those unsightly holes and dents in your walls before painting, spackling is the way to go. Spackling helps create a smooth, seamless finish that makes your walls look like new. Here's a simple guide on how to spackle effectively. All you need are these basic tools:
- Fine-grit sandpaper (around 150 grit works best)
- Spackling compound
- A putty knife
- A clean cloth
Here are the steps:
- Prepare the Surface: Start by cleaning the area thoroughly. Sand the edges of the imperfection gently and wipe away any dust or debris to ensure proper adhesion.
- Apply the Spackle: Scoop some spackling compound onto your putty knife and spread it over the hole or dent. For deeper imperfections, such as those caused by screws or nails, push the compound further into the hole to fill it completely.
- Smooth Out the Surface: Use the putty knife to flatten the spackle until it's flush with the wall. Avoid letting it build up above the surface.
- Let It Dry: Allow the first layer of spackle to dry completely. This usually takes about an hour, but check the instructions on your product for specifics. You may need to apply 2-3 additional layers, allowing each layer to dry before applying the next.
- Sand Gently: Once the final layer is dry, lightly sand the spackle until it's smooth and even with the surrounding wall. Be careful not to press too hard, as this can cause new indentations.
- Final Touches: Dampen your clean cloth slightly and wipe down the area to remove any leftover dust. And just like that, your wall is ready for paint!
For larger holes—greater than 4 inches—you might want to reinforce the area with mesh or wire before applying the spackle to provide added stability. Spackling works best for smaller imperfections, but for bigger repairs, consider consulting a professional.
Still have questions about drywall repair? Our team at Edmonton Fasteners is here to help! Drop us a line, and we'll guide you through choosing the right materials and techniques. Thanks for reading, and don't forget to check out our next post for more DIY tips!
